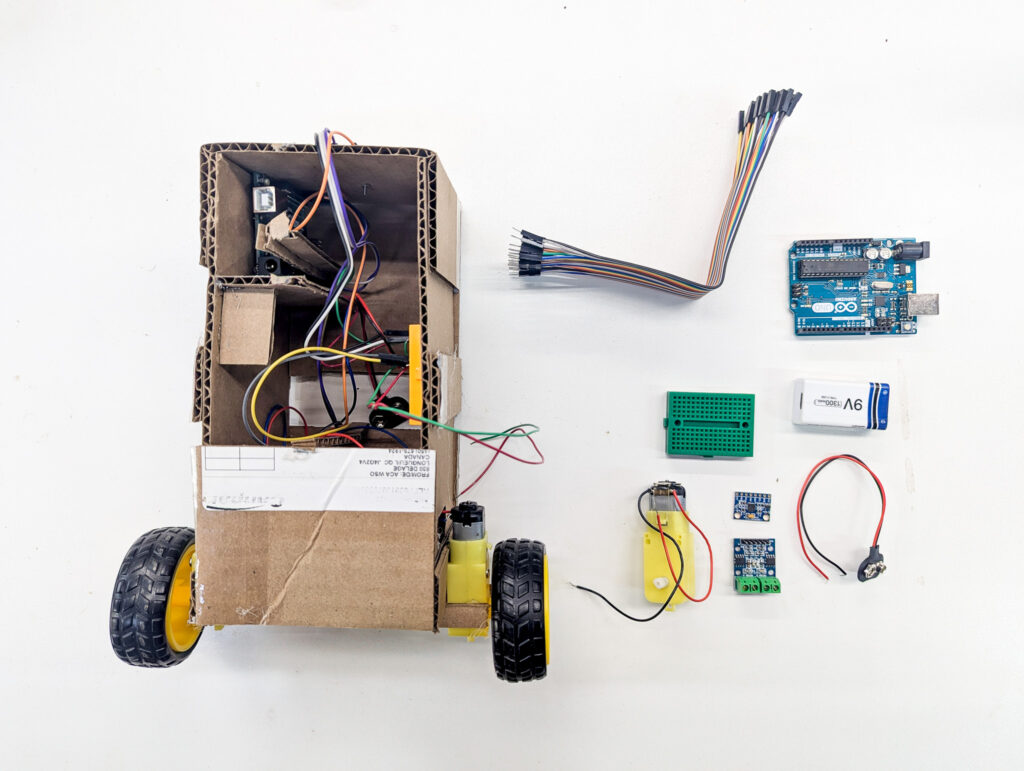
A common complaint I get from students is that the hardware is not good enough. My response is that’s robotics: the hardware is never good enough. What I mean is that as a designer, you always have to work within limitations. Sometimes the joy is in getting a very simple robot to do amazing things.
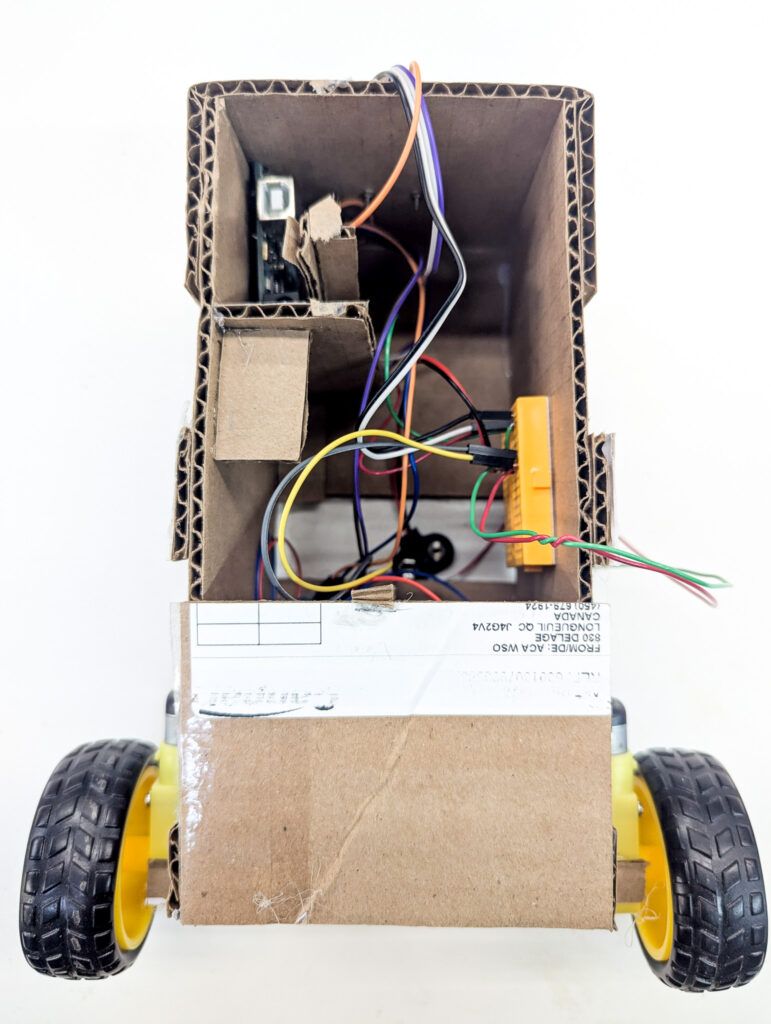
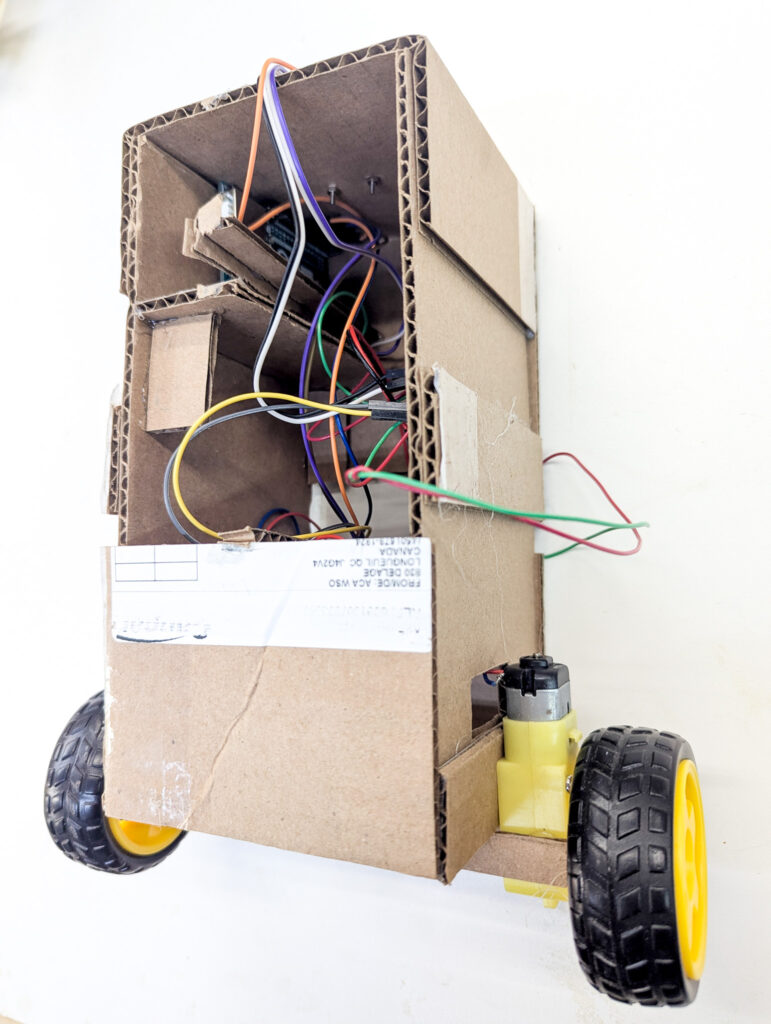
For this project, I decided to use nearly the bare-minimum Arduino hardware with a cardboard body. I’ve built a lot of low-cost robots, and I believe strongly that a prototype should be just-good-enough. That way, you can break it, modify it, etc. without feeling too bad. Let the design settle, and then you can start to upgrade the hardware.


All in, I built this in about an hour. Whenever there was a structural problem, I just glued on another cardboard panel. Cost? Zero.
Creating the Accelerometer and motor libraries
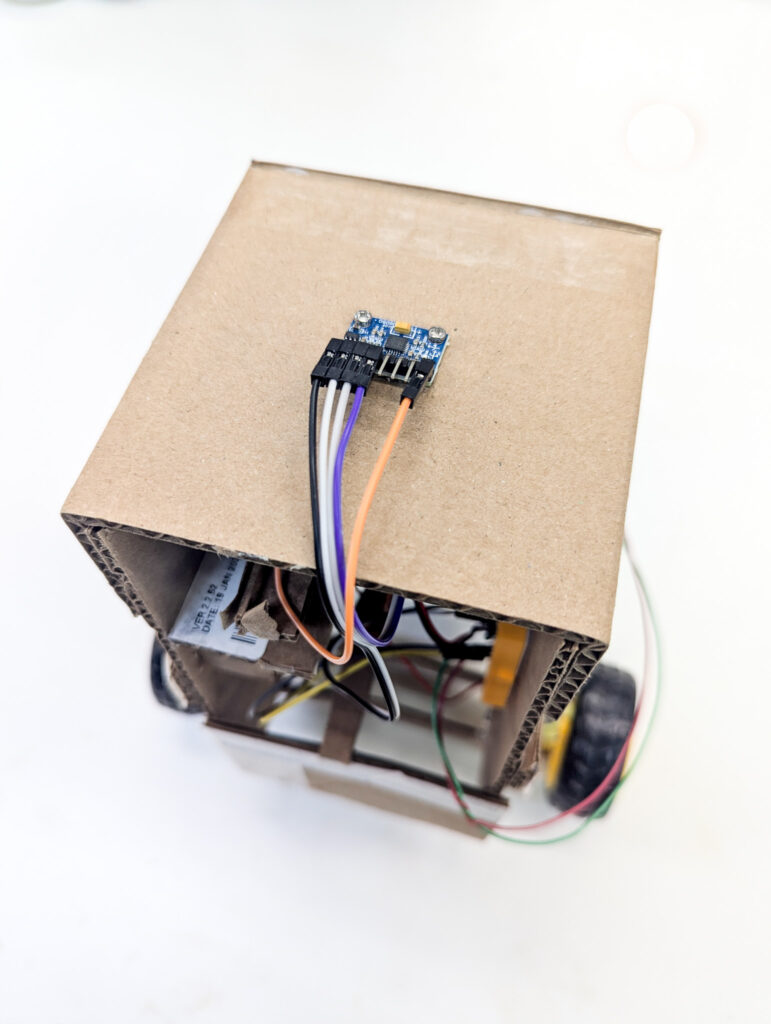
After some initial messing around, it was clear that the accelerometer needed some calibration. Using examples that others have made, I created a quick library at https://github.com/COGS-300/Accelerometer to handle accelerometer initialization and angle readout.
The key functions that the library needed to handle were:
- Calibrating. The accelerometer may have some initial offset that needs to be calculated so that it is properly zeroed. For example, the robot may be upright, but due to some inaccuracy in placing the sensor, the sensor may be off by a few degrees.
- Translating raw data to tilt values. The accelerometer puts out raw acceleration data, not an angle (roll, pitch yaw).
- Communicating via Serial. To use the library for reinforcement learning, we need to get the values to a computer with enough power to run the model.

Similar to above, to keep the code reusable and organized, I wrote a quick motor handling library at https://github.com/COGS-300/Motor.
The key function of the library is simply driving the motors. The library adds a human-readable interface for driving the motors, rather than just using the raw motor driver commands. It handles a few edge cases, like inverting the power output commands if needed, and allowing the input range to be -1.0 to 1.0 instead of requiring explicit handling of backwards/forwards and the 0-255 range, which is harder to remember.
Learning from cardboard
During the process of tuning the PID controller, I learned a lot from my cardboard prototype. First, I found out that the slight angle of the accelerometer made my robot continuously tip juuuuust enough that it would fall over. The light weight of the cardboard also made it so that there was very little inertia to overcome. The robot therefore would oscillate even with some precision PID controls. And so on.
Although the first robot design didn’t “work”, it gave me the confidence that the project was viable, and taught me a lot about the basic physical problems that I would be dealing with. Stay tuned for the next iteration of the robot!